
From zero to validated experiment in hours
How to use "vibe prototyping" to jump-start experimentation

The blank slate. You stare at it. It’s daunting.
Where do we begin?
Many teams I meet struggle with the blank slate: getting started with experimenting.
There’s analysis paralysis. They either focus too much on building (“the build trap”) or get stuck in discussing, debating, and researching without making decisions (“the learn trap”).
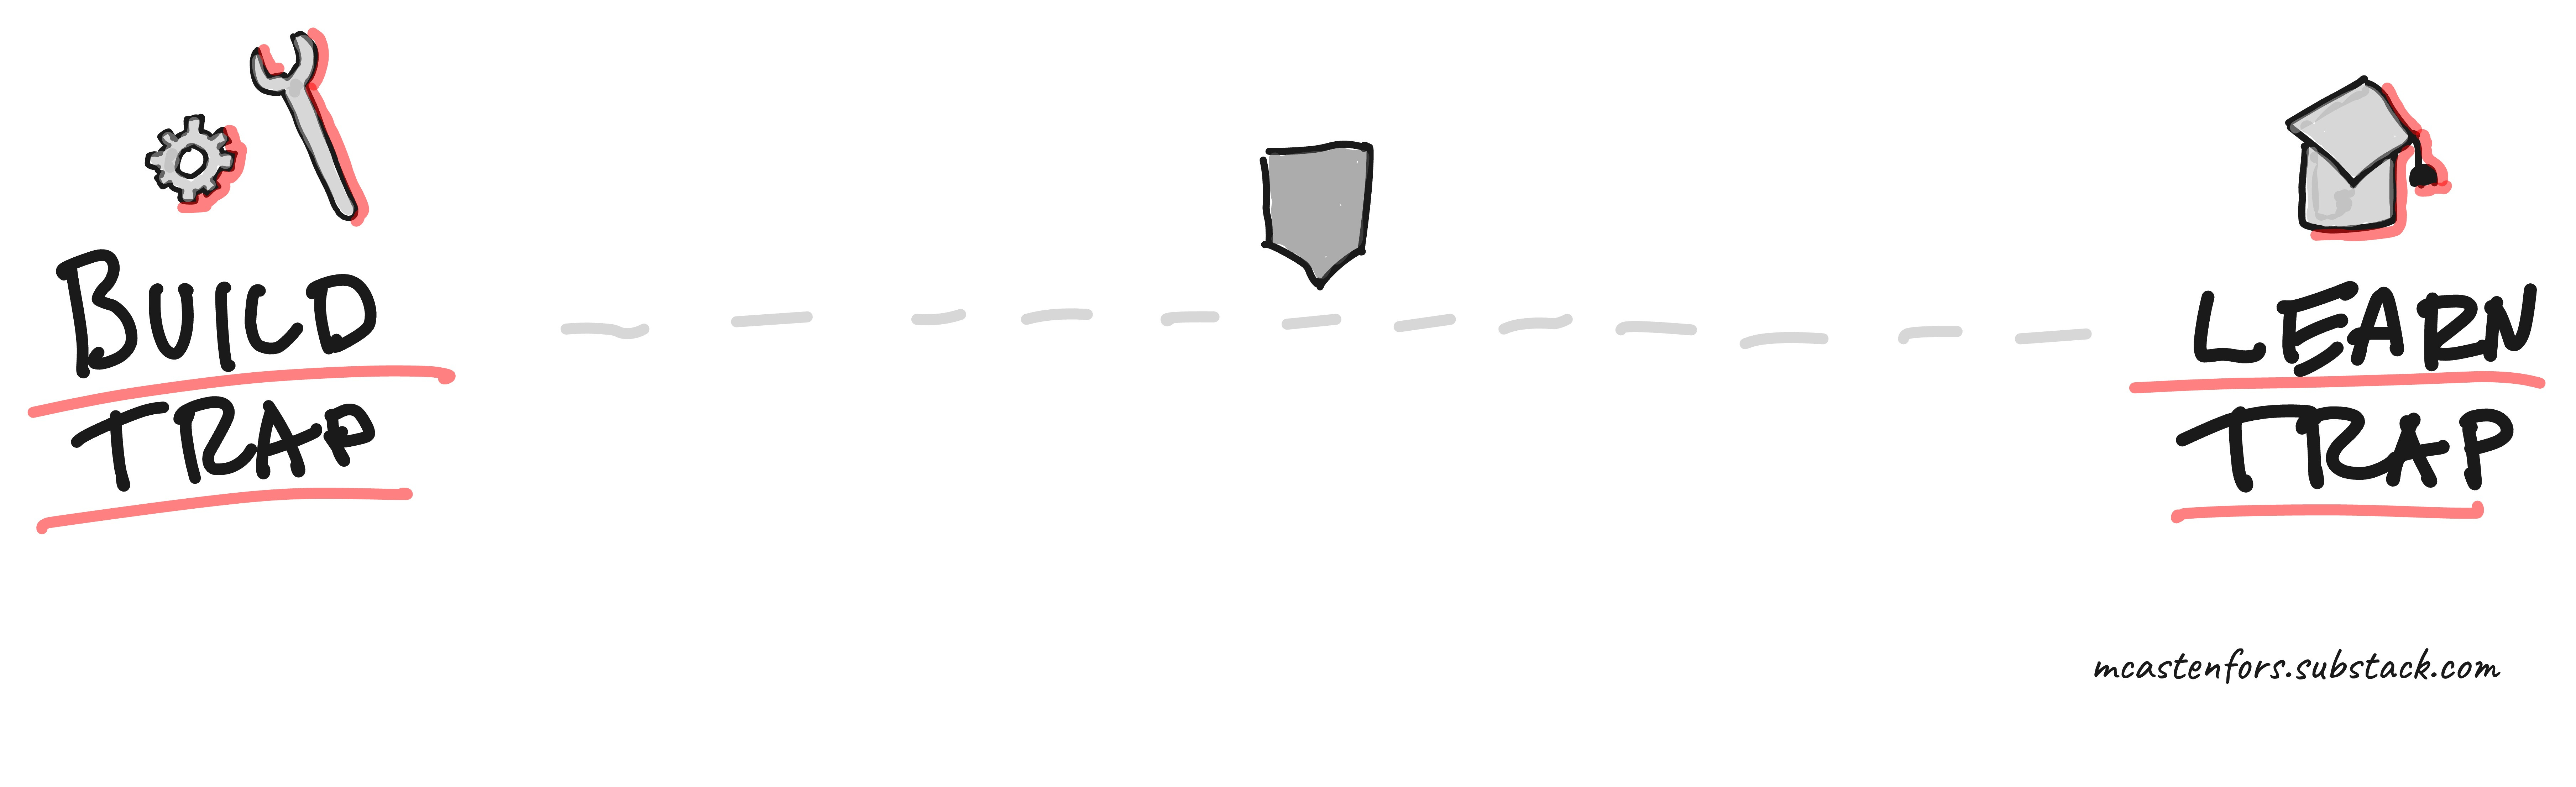
Essentially, they get caught talking about experiments instead of doing it. They picture it as something requiring scientific rigor and loads of data. But what if we reframed it?
What if we viewed experimentation as learning? A journey of finding the right solution to build. A series of steps you take, starting with a small one.
When coaching teams to get out of the learn trap, here’s a simple playbook I use to create a validated prototype in just a few hours.
Step 1: Create an Opportunity Solution Tree (OST)
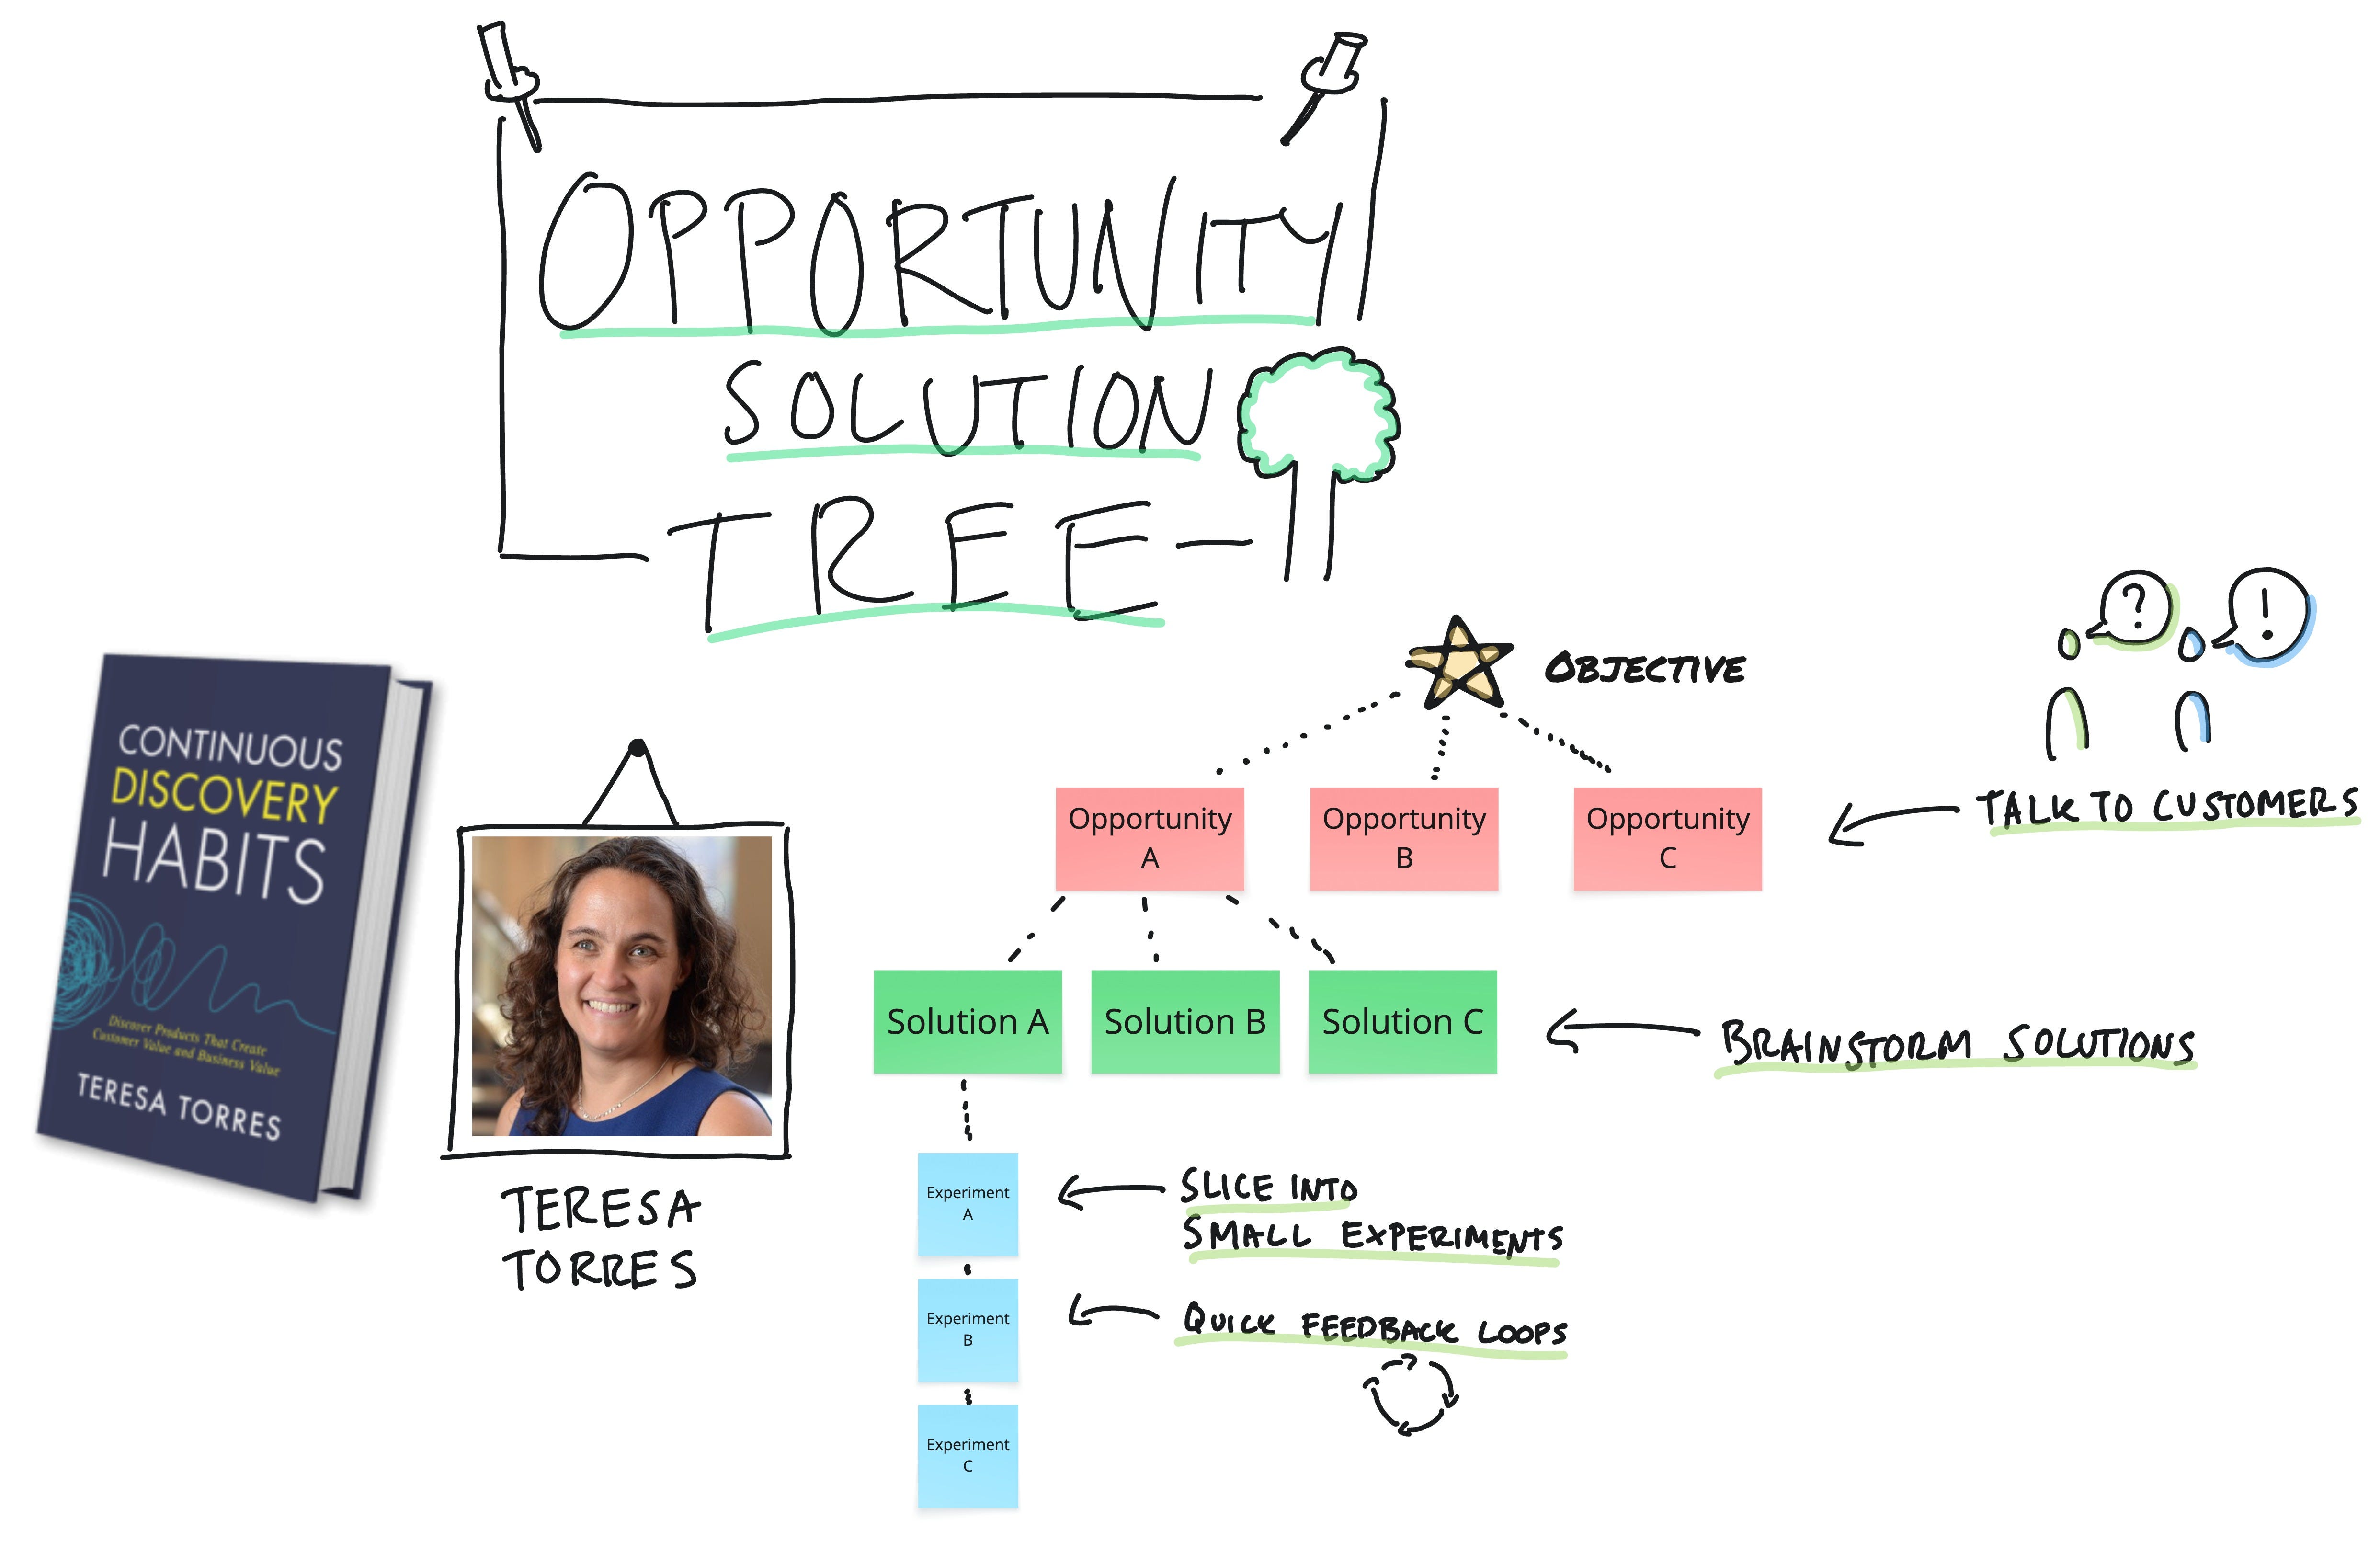
Teresa Torres’ OST is fantastic in teaching teams on how to work towards an outcome and to plant the seed that there are many possible paths to experiment towards that particular outcome.
Facilitate a workshop where the team fills out their tree. Once you are close to finishing, pick one experiment to focus on as a first step. Use the following format:
We believe that [target customer / user]
have the problem/need of [describe customer / user opportunity or problem]
and that providing [proposed solution or feature]
will result in [expected outcome / behavior change]
Step 2: Create a “vibe prototype”
Ask the team to paste their experiment as a prompt into a vibe prototyping tool, such as Magic Patterns (note: this is my personal invite link, which gives you 5 free credits). Encourage to add context so the prototype feels closer to reality. For example:
Business context
Where this feature fits in the larger product (e.g., “part of a suite, not a stand-alone product”)
Constraints and requirements
Platform(s) (web, mobile, both)
Branding or style guidelines (colors, typography, tone)
Examples / inspiration
Reference flows or products (e.g., “similar to how Spotify confirms playlist deletions”)
Specific UI patterns you like or dislike
Step 3: Create a plan to validate
After a few iterations, you now have a clickable prototype to validate. It is not perfect, but it is more than enough to test.
Validation does not have to mean a fancy A/B test. Start simple: show the prototype to someone outside the team, for example in sales, customer service, or marketing. Just walk around the building and validate your prototype in a matter of hours.
Then move on to customers.
Setting a focus
But before you do, align as a team on the focus of the interview. What is the fundamental aspect you want to uncover? For example:
In the building:
Sales: Can sales confidently explain and sell the solution?
Customer service: Do they see any obvious customer objections or friction points?
Outside the building:
Customer: Does the solution deliver the intended outcome?
Writing a few key questions to ask
Once you have defined your focus, agree on 2–3 key questions to ask, along with a few follow-ups. For example:
In the building:
Sales: How would you explain this feature to a user?
Customer service: What could stop the customer in their tracks when interacting with this feature?
Outside the building:
Would this solution help you with [intended outcome]?
How would this potential solution fit your current workflow?
Running the interview
Here are some simple recommendations on how to run such an interview:
1. Set the stage
Share the purpose of the interview, what you will be showing and that it’s an early version of a solution you are considering developing. Ask the person to “think out loud” as they interact with the prototype and mention that there are no right or wrong answers.
2. Let them run through the prototype
Observe how they move through it without jumping in to explain too much.
3. Ask follow up questions
Why did you stop there?
Is this important to you?
Could you explain a bit more why you did that?
4. Ask concluding questions
Here you ask the key questions related to your focus. You can also use a few of these:
What was your overall impression of the prototype?
Was anything confusing or unclear as you clicked through?
What stood out as most useful or interesting?
If you could change one thing about the prototype, what would it be?
Great.
You and the team have now gone through an interview and learned something.
Gather, share your insights, refine, and then run another. And another. With each step, the signal becomes stronger.

Summary
There you have it. A simple guide to avoid the blank slate and lower the threshold for getting started with experimentation and validation.
I have seen plenty of epiphany moments when coaching teams through these steps. Smiles and laughs when they realize the bar is not as high as they first thought.
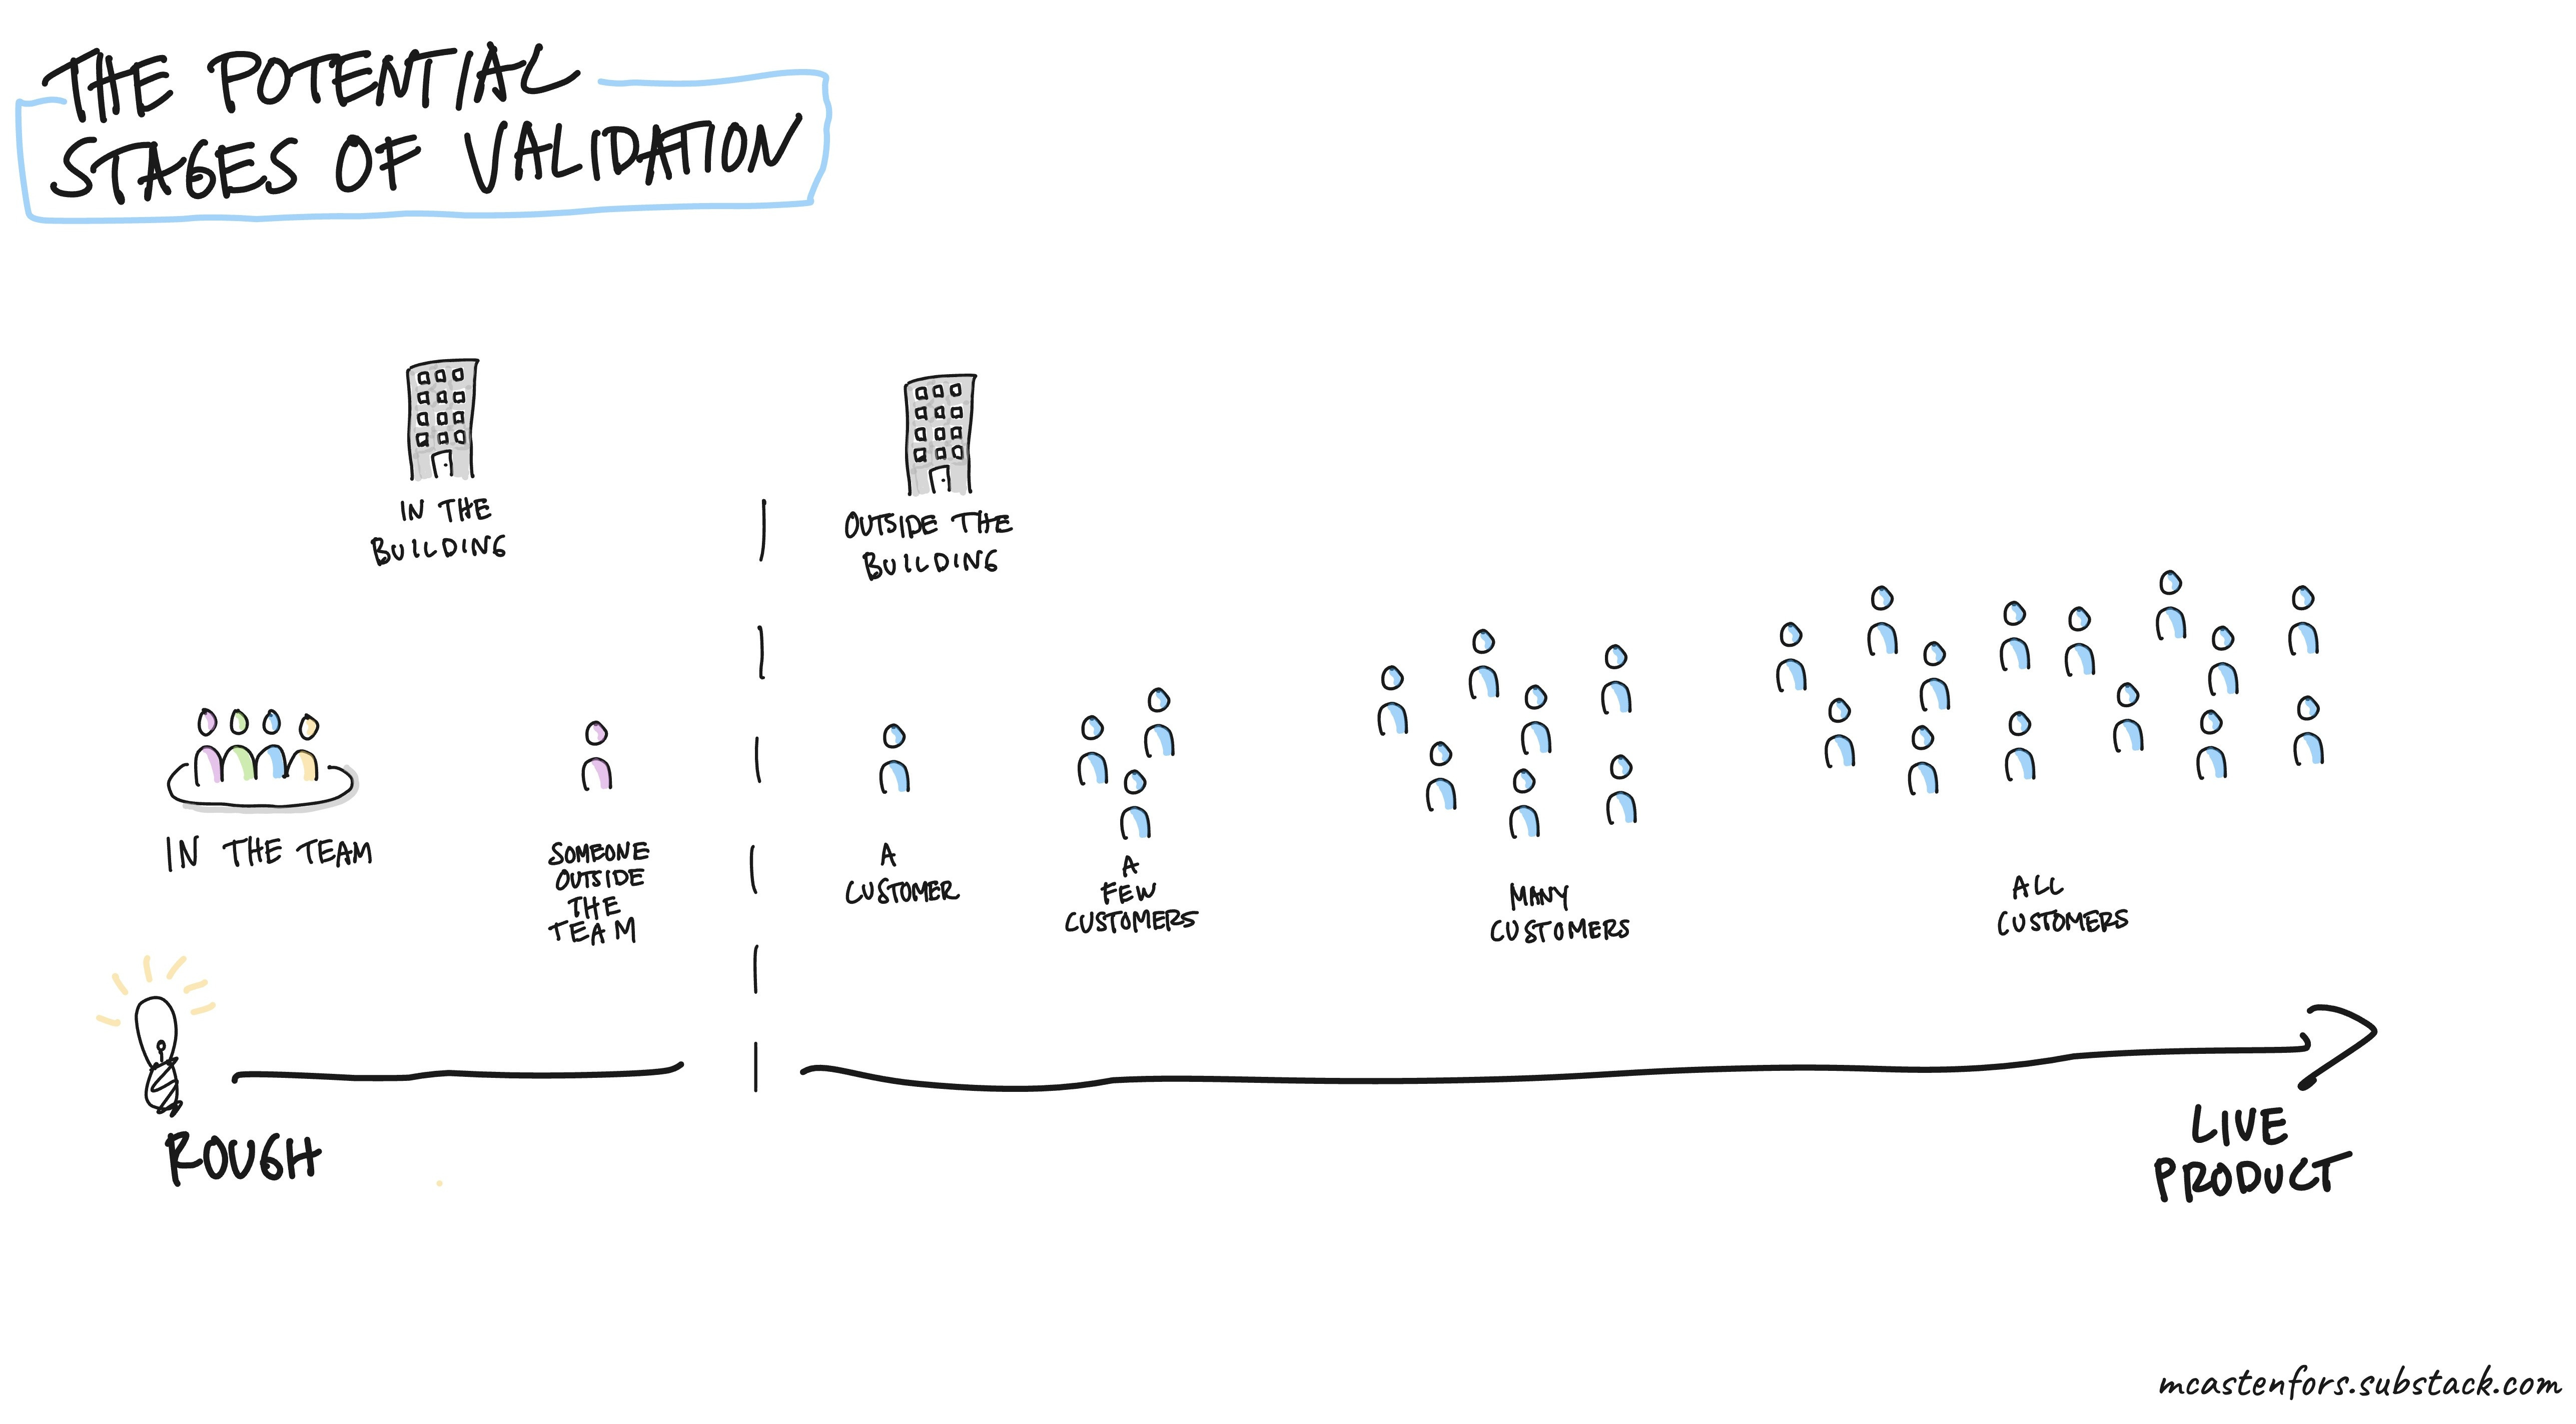
Validation should not feel daunting. It is a journey. From rough ideas in the team to real feedback from a few to many customers. Each small step teaches you something new.
So, over to you. What will your first experiment be?
Bonus
Here are a few of my favorite validation techniques if you want to dive deeper into the topic.